December's Postcard of the Month - Winter XX!!
All the little birdies goin' tweet-tweet-tweet!
Well, one little birdie, anyway...
This one came so easily!! And is maybe my favorite of all the 'Winter' cards.
I've always wanted to do a card of birds on a wire - I came close a few years ago with Winter XVII:
with the little red 'birdies' on the fence.
And, even though this year's card is just one birdie landing on a branch,
I realized AFTER I'd made them all that the notes look a lot like birds on wires! :)
I started with pulling out some of the papers that most appealed to me:
And I had this little bird stamp that I was determined to use -
along w/ my newly acquired embossing skills (thanks, Jessica!) :
And then, I made this first one:
You might notice a little touch of red beneath the gold dots -
I'd originally used red dots, but didn't like them,
and they'd already bled into the white before I pulled them off and replaced w/ gold...
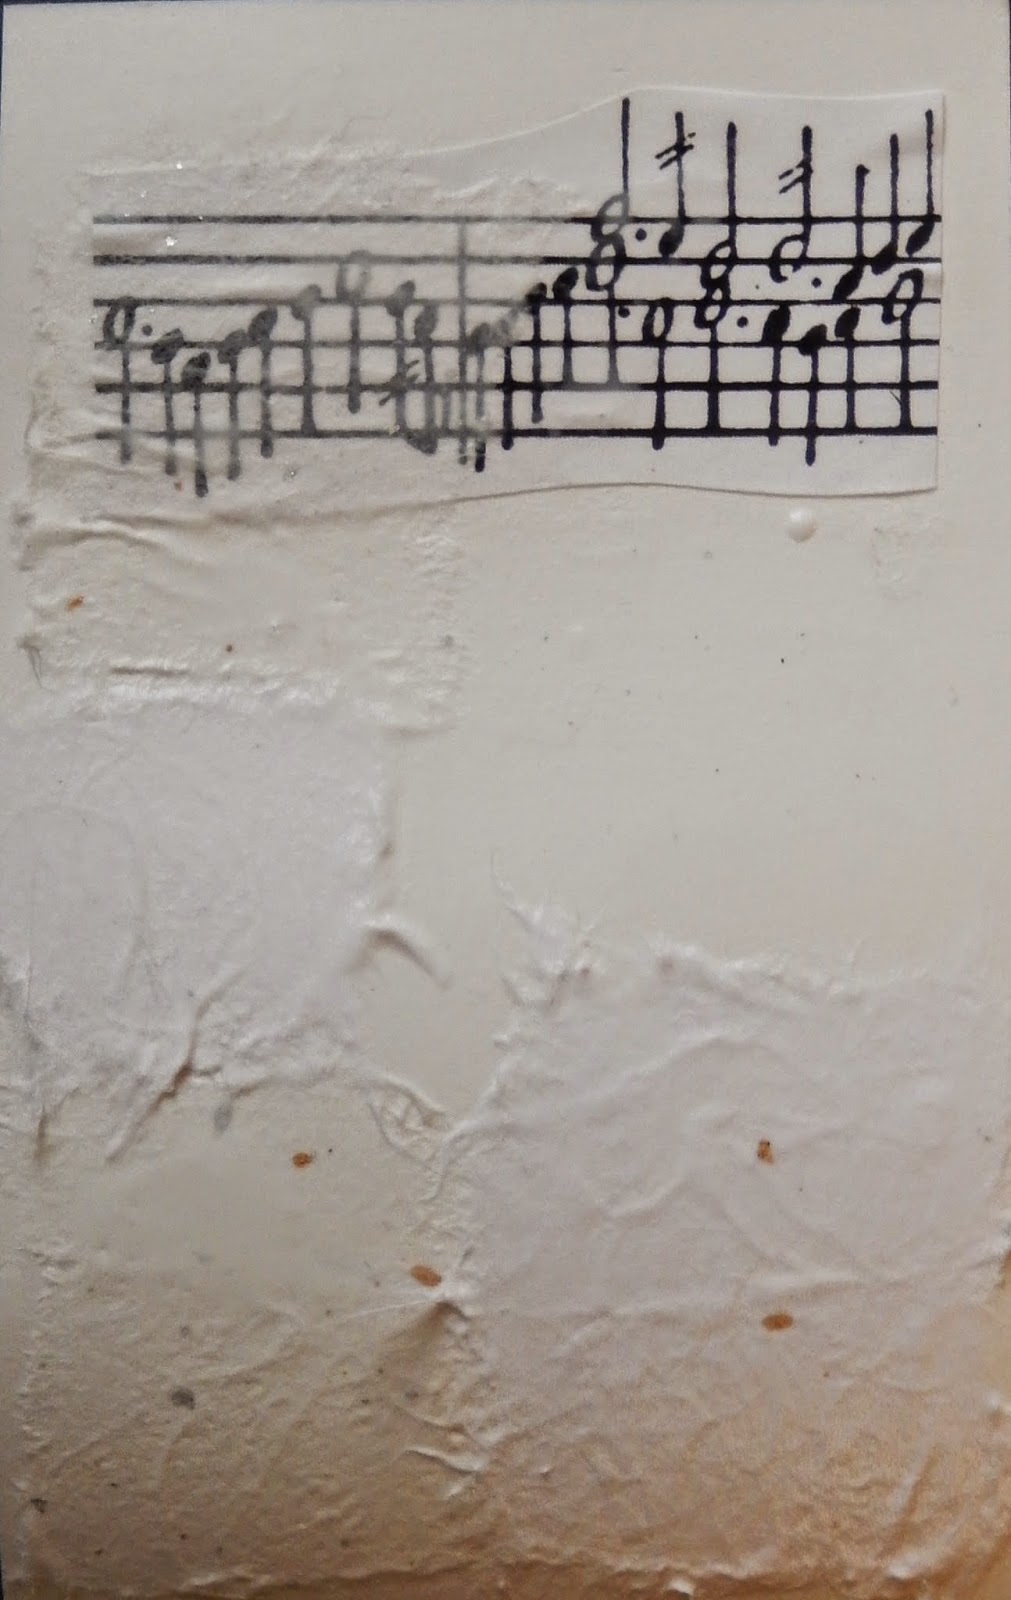
I have a roll of very cool sheet music,
from which I was able to cut enough of these three sections:
to make the quantity of cards I planned to make.
(I think the top one's upside down here...)
They all had those uplifting high notes at the end of the measure.
And so, on to ...
The Fixin's
This is how it's set up as I get ready to start in:
The Steps
Twenty-one of 'em.
Hahaha!! I'd HOPED to keep it to around 5 steps this time... :/ Just couldn't help it. :)
Step 1*
Step 2
Step 3
Step 4
Step 5
Step 6
Step 7 - all the rest of the cards after this test run
had a little piece of white rice paper on the mid-right side.
Step 8**
Step 9 - Oh, this mottled blue-ish paper is probably my all-time fave! :)
Step 10 - November's cards left me hungry for more squares.
Step 11***
Step 12
Step 13
Step 14 - Here come the 'trees'!****
Step 15
Step 16
Step 17*****
Step 18 - And now the gold dots!
Step 19
Step 20
Step 21 - Final notes. :)
These are the individual boards of finished postcards:
Best wishes for a happy & healthy, inspiring & fulfilling new year, all!!
Fin.
*One of the boards of multiples after Step 1:
**the perforated gold strip that I used for all the cards:
is not the same as the rustier-colored perforated gold strip in the prototype. ;)
***Ah! Silver strips - cut from larger pieces >> thanks to my friends' vices!
Silver linings indeed, eh?!
****These cards had several right-angles! I pretty much trust my eye - I tend to be very, consistently accurate with measurements/size assessments (a tad too much pride in this...) - but just to make sure that I stayed on track, I checked w/ my trusty clear plastic pica ruler every once in a while! I think it would have been much less appealing if the eye had to struggle with off angles.
****There was actually another step - for all the rest of the cards - right after I stamped the birdie. The ink (from the rubber stamping) still has to be wet in order for the embossing dust to adhere, and I didn't decide until too late on this trial card that I wanted to add the embossing step...
AND!!! >> I can't believe that of all the pix I take, I FORGOT to take a photo of Mule helping me with the stamping/embossing step!!! :/ I could have done it myself, but it would not have moved along nearly as smoothly!
Addendum
I.
Here's what the studio looked like during production:
And post-production:
II.
Most of the 'Winter' panels, and a few (5) individual collages are on display at Jericho's Deborah Rawson Library 'til the end of this month. Such a lovely space!


